Virtual Staging for Small Rooms: Check Scale Before Style
Plan virtual staging for small rooms with a restrained furniture brief, a worked bedroom footprint and checks for doors, scale and usable space.
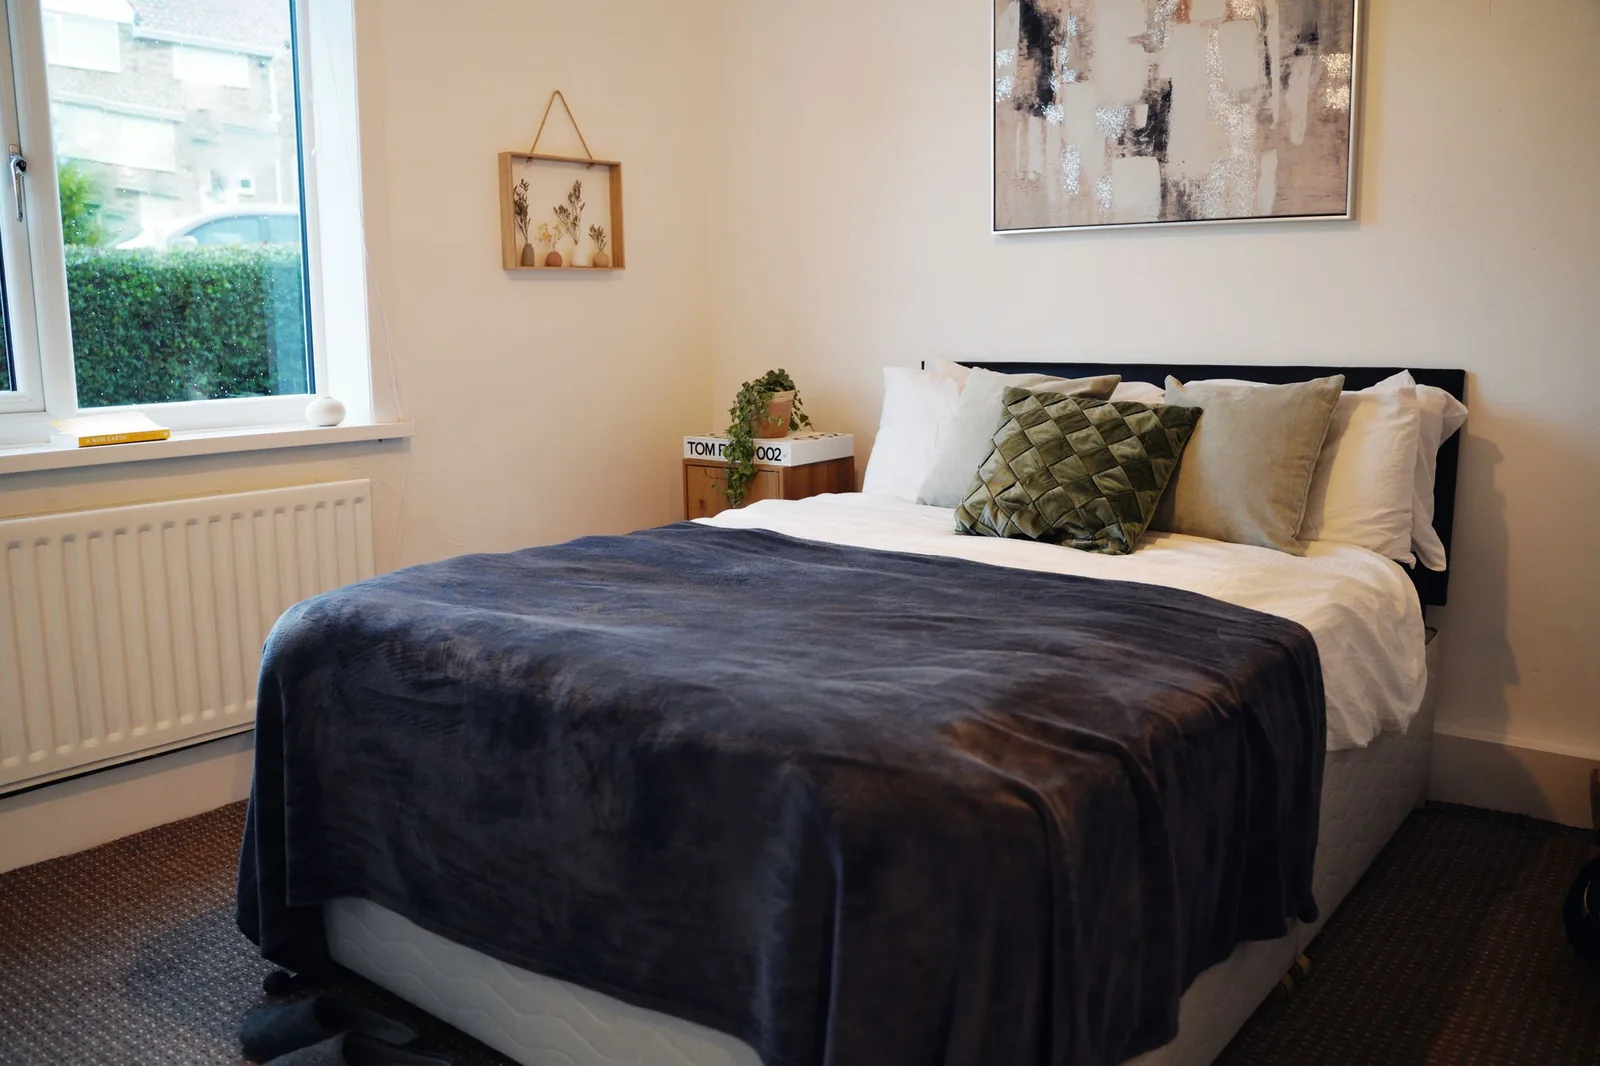
TL;DR
Virtual staging for small rooms should explain a usable furnishing idea without making the room appear larger than the source. Start with one purpose, a short furniture list and an honest photo. Check real dimensions separately; fewer objects in the image do not prove that the remaining furniture fits.
Direct answer: Use a restrained brief, keep the original walls and openings, and compare each result with the unedited room. Choose furniture categories that serve the room's purpose, then verify actual product footprints, door movement and access before treating the concept as a layout.
The bedroom arithmetic below is a hypothetical planning example, not a measured property or a building standard. The images are reused editorial references. They do not show a completed small-room staging job or validate the example's dimensions.
Choose one room purpose before choosing furniture
A compact room often looks confused when the brief asks it to be a guest bedroom, office, exercise room and storage space simultaneously. Start with the use you need to explain in this particular image.
Write one sentence: “Show how this room could work as a bedroom with a bed and two small bedside surfaces.” Or choose a desk-and-storage arrangement for an office. Do not add a bed simply because the image has a vacant corner.
For a studio, define the intended sleeping and sitting areas in the brief. Keep those as proposed zones to evaluate; do not assume a generated divider, walkway or bed position is physically workable.
Use a photo that keeps the room's constraints visible
Include the openings and fixed features that determine where furniture can go. A cropped doorway makes an attractive arrangement easier to draw and harder to evaluate.
Keep the original framing as the reference. If you take another photograph, use it to explain the actual room more clearly rather than to conceal its limits. Show the wall/floor junction and avoid a foreground object that hides the proposed furniture area.
AutoReel's small and awkward room guide discusses scale and restrained furnishing in this use case. Our additional check is to separate the visual furniture brief from a physical footprint calculation before accepting an arrangement.
Work through a hypothetical bedroom footprint
Assume a simple room measures 120 by 132 inches. You are considering a complete bed frame whose published outside dimensions are 64 by 86 inches. These are invented example inputs, not the dimensions of the pictured bedroom.
With the 64-inch side across the 120-inch wall:
- 120 − 64 = 56 inches total left across the width.
- If the bed were centered, 56 ÷ 2 = 28 inches per side before considering anything else.
- 132 − 86 = 46 inches total along the length beyond the bed's outside dimension.
Those differences are not an approval of the layout. A bedside surface, baseboard heater, door swing or closet opening can consume the apparent space. The outside bed-frame size also matters; substituting a mattress dimension can hide the frame's extra depth or width.
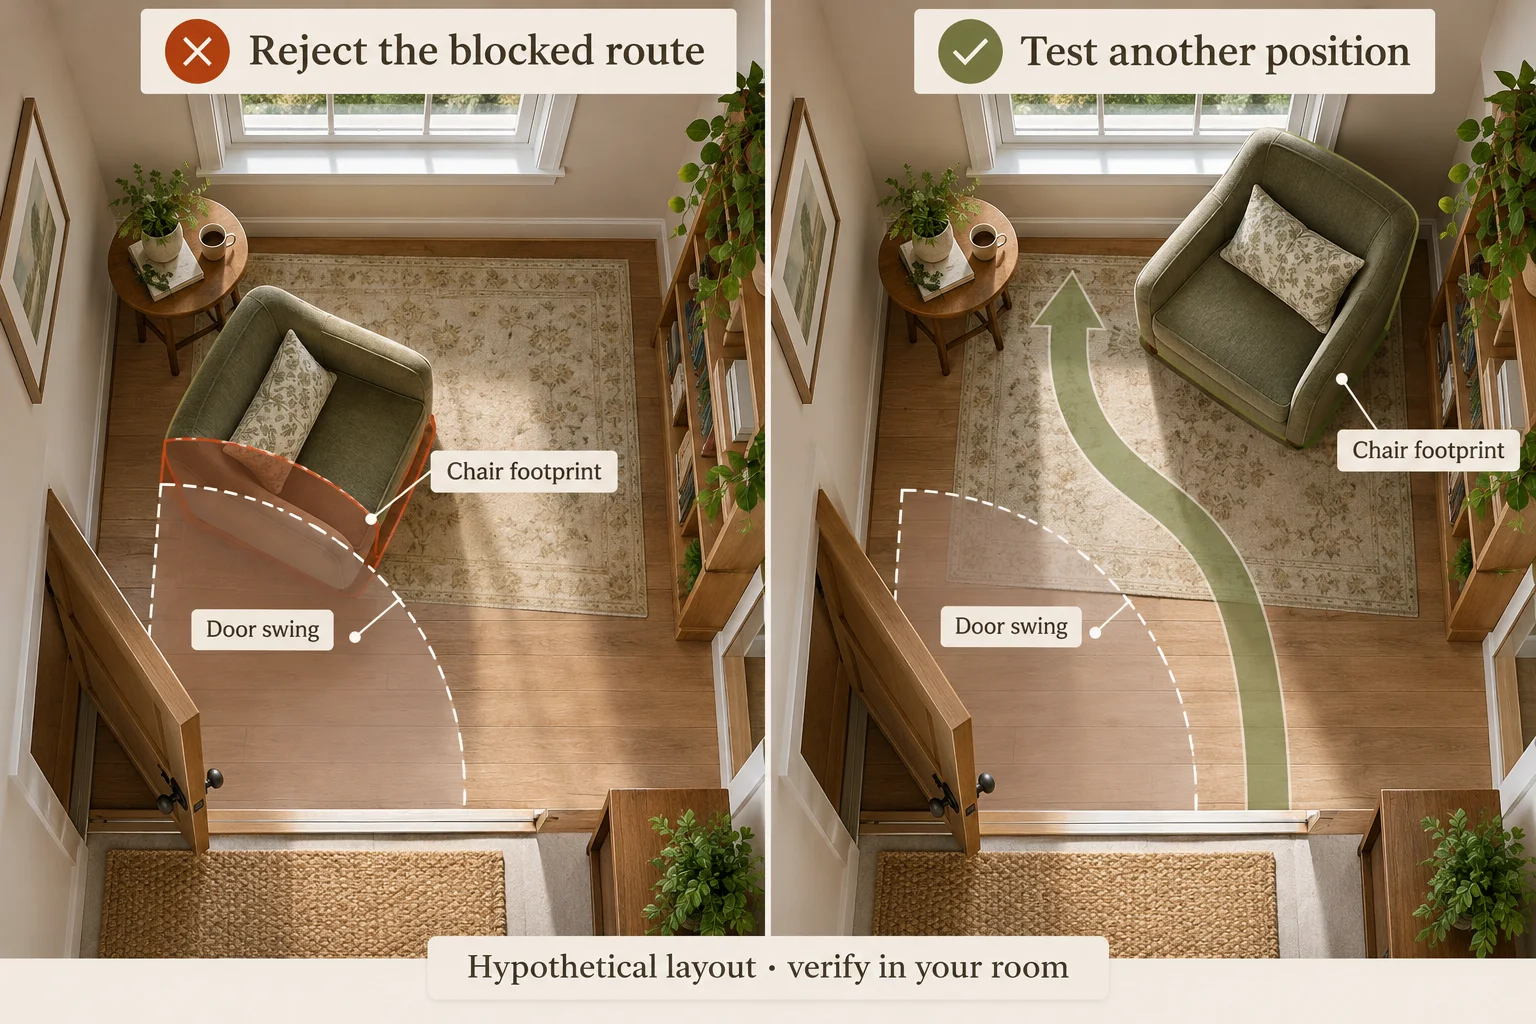
Mark the actual footprint on the floor, open nearby doors and check how the room would be used. If the arrangement fails, choose a different product or layout before trying to persuade an image model to make it look comfortable. For a dimension-led task, see AI room concepts versus measured layouts.
Write a bedroom staging brief with a short object list
Use the photo as the starting point and keep the brief specific:
Add a restrained bedroom furnishing concept to this empty-room photo. Keep the walls, window, closet doorway, floor and camera viewpoint. Include one bed with a simple frame and no more than two small bedside surfaces. Do not widen the room, move the door or add built-in storage. Leave openings visible. This is a visual concept; do not imply that the image establishes furniture fit.
The instruction is not a measurement constraint enforced by the image. Inspect bed width, opening visibility and the visible amount of floor against the original. A smaller-looking bed can make a picture work while misrepresenting the product you intended to use.
Start with virtual staging, then keep the original and result together for review. If the room is already furnished and you only want to explore one replacement, replace furniture is a different, narrower task.
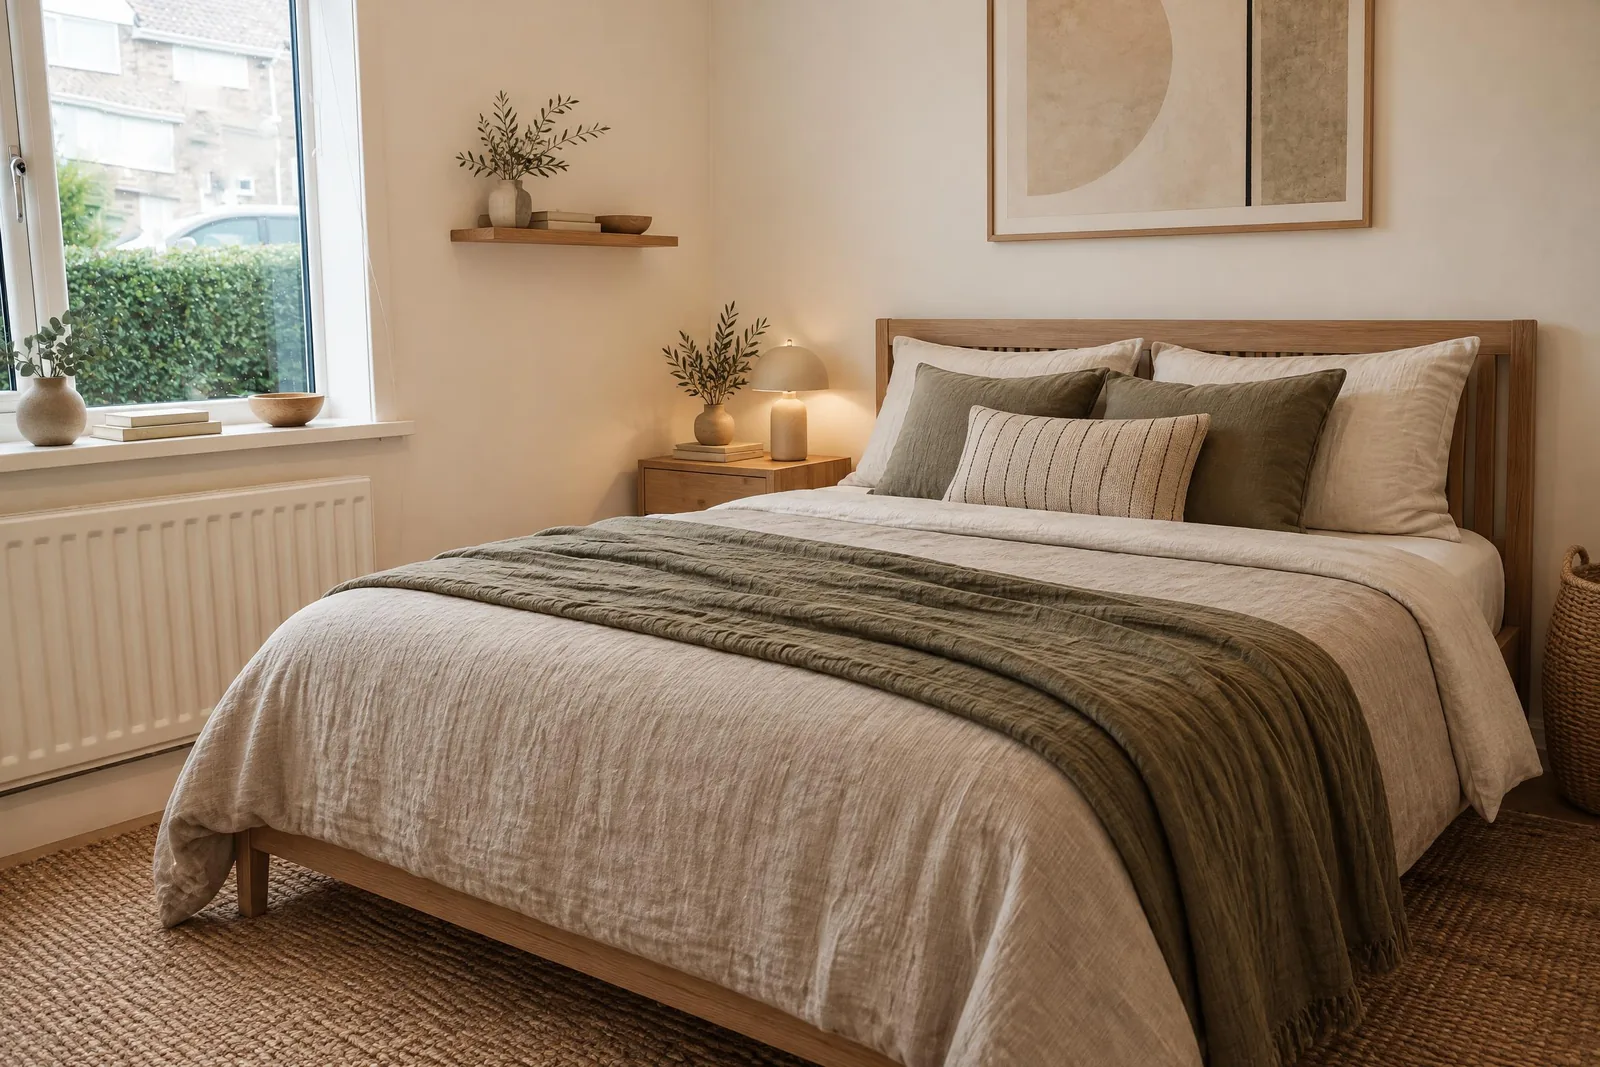
Give a studio two clear zones, not a dozen objects
For a studio concept, specify the decisions that affect the use of space. A useful brief might include a sleeping area, one compact sitting area and the existing route to the kitchen and bathroom.
Explore a studio furnishing concept using the attached photo. Keep every existing opening, fixed cabinet and visible fitting. Show one sleeping area and one sitting area. Do not add a dining set, partition wall or built-in storage in this version. Keep access points visible and use the original viewpoint. List any proposed furniture positions I need to check with measurements.
Evaluate the layout questions separately from the decor. Can you reach the storage with the furniture in use? Does a pulled-out chair occupy the route to another area? Does the concept assume a windowless part of the room is a suitable sleeping space? An image cannot settle property-specific suitability or requirements.
Reject the “larger room” shortcut
Use the original photo as a stable comparison. Be cautious when the output gains a longer wall, loses a radiator, shrinks the door, or changes the camera viewpoint enough to obscure what happened.
The error may be subtle: a bed is placed at a different angle, a corner moves outward, or a mirror appears where an opening should be. More empty floor in the result is useful only if the room still corresponds to the source.
Our staged-photo review checklist provides the general accept/revise/reject process. In a small room, give furniture scale and access checks particular attention. A before-and-after comparison can support that review without proving the dimensions.
Choose a next step based on the remaining uncertainty
If the furniture list is too busy, remove an item from the brief. If the room changes, revise or reject the output. If the arrangement is unclear, measure and test the footprint. These are different problems and deserve different next actions.
For listing use, keep the unedited original and check the requirements of the relevant MLS or platform before publishing. This article is a planning workflow, not a determination that a particular edited photo or disclosure is suitable for a listing.
Frequently asked questions
Does minimalist virtual staging make a small room look bigger?
It can present a less crowded visual concept, but it does not increase the room's area. Reject edits that enlarge the room or remove features to make an arrangement appear workable.
Can I use mattress dimensions to check a staged bed?
Use the actual outside dimensions of the intended bed frame and account for furniture and door movement. A mattress size alone can understate the complete footprint.
Should a small room always be staged as a bedroom?
Choose the use that fits the property and intended presentation. A rendered bed does not establish that a room is suitable to be described or used as a bedroom.