How to Make Before and After Photos: Shooting and Layout
How to make before and after photos that line up: shoot from the same spot, height and light, pick a side-by-side, stacked or split layout, then export one image.
TL;DR
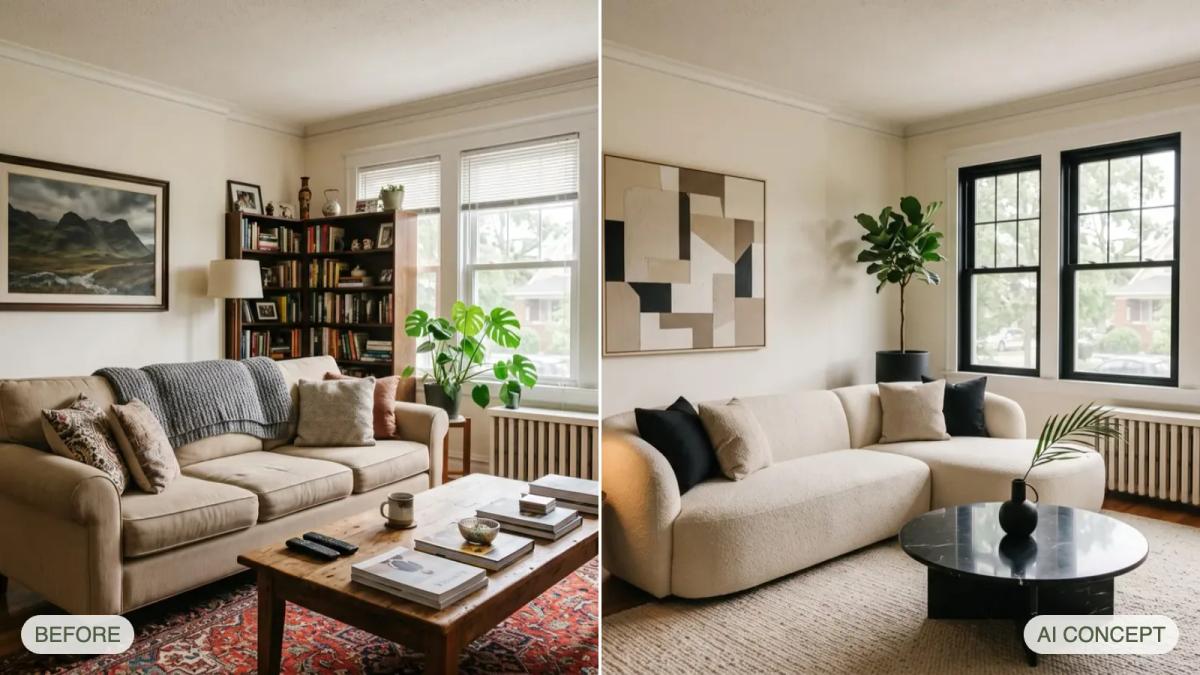
Take the before photo from a spot you can find again, then take the after photo from the same spot, height and zoom, at a similar time of day. Put the two in one image with a side-by-side, stacked or split layout, add short labels and export a single file.
Direct answer: To make a before and after photo, take two photos from the same position and height in similar light, then combine them in one frame. Spaceora's free Before and After Photo Maker puts two photos side by side, stacked or split and downloads a PNG in your browser, with no watermark.
1. Plan the before photo
The after photo can only match what you record now.
- Mark the spot. Note where you stand, for example a floor tile or a doorway edge, or put a small piece of tape down.
- Note the height. Chest height is easy to repeat. If you crouch, note it.
- Keep the zoom at 1×. Zooming in changes the framing and is hard to repeat.
- Choose the orientation. Landscape suits most rooms and yards. Whatever you pick, use it again for the after photo.
- Include fixed landmarks. Keep a door, window or wall corner in frame. Those are what viewers use to match the two photos.
2. Take the after photo to match
Go back to the marked spot and the same height. Use the same zoom and orientation.
Shoot at a similar time of day, so the sunlight comes from the same side. Set the lights the same way: if the room lights were on in the before photo, turn them on again. Before you leave, open the before photo and compare the framing against the landmarks.
3. Choose a layout
Each layout suits a different kind of change.
| Layout | Works well for | Watch for |
|---|---|---|
| Side by side | Rooms and most general comparisons | Each photo gets half the width, so small details shrink |
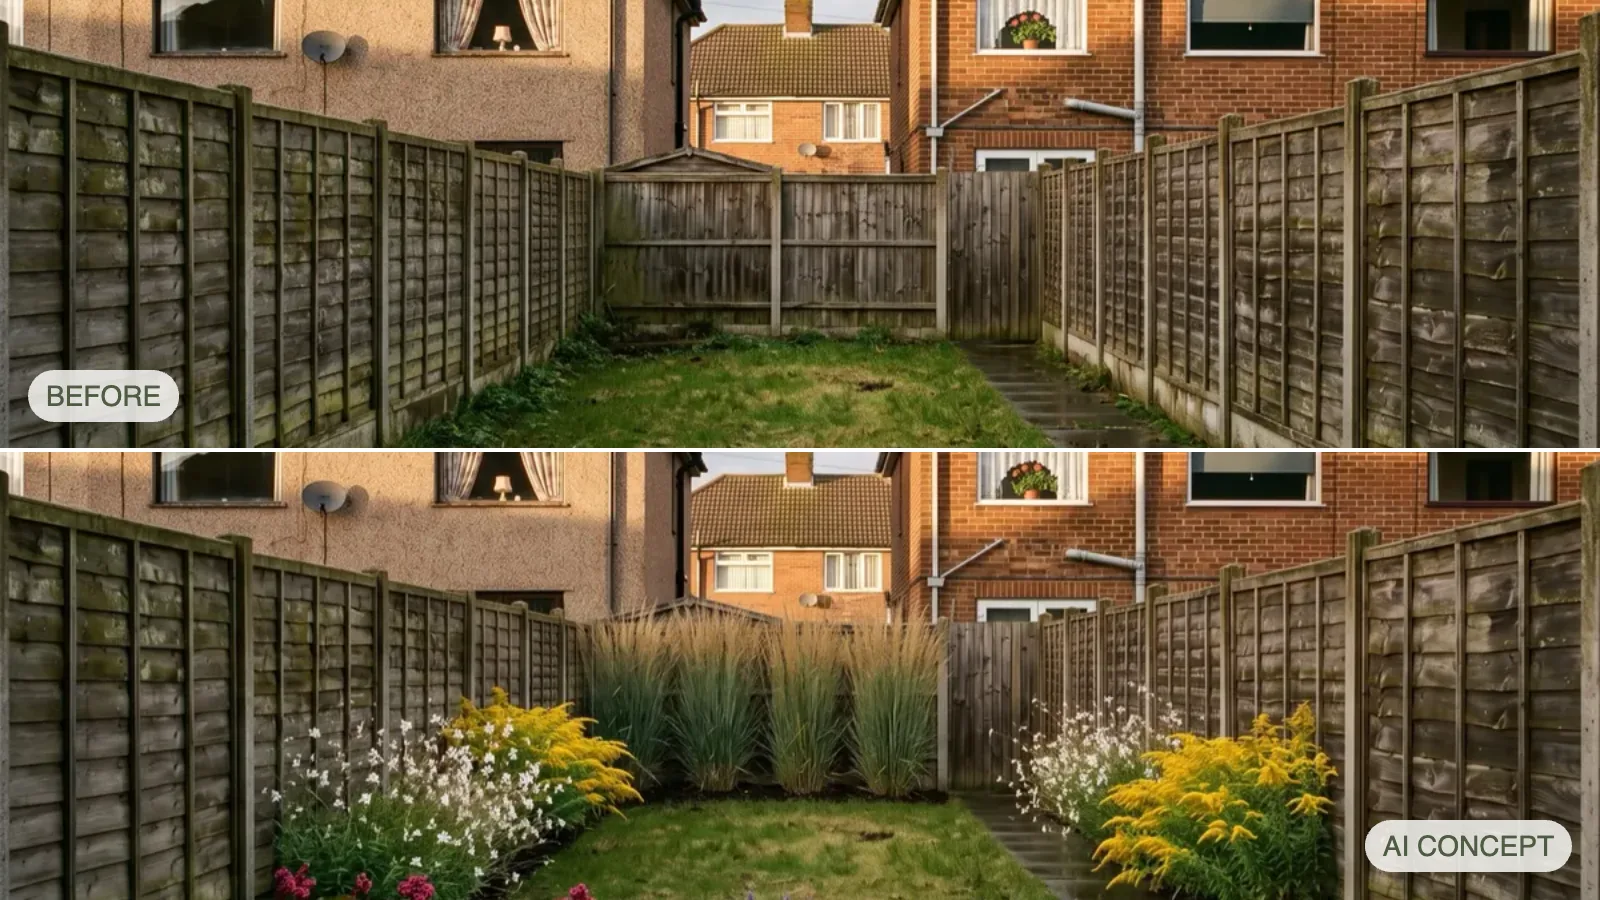
| Stacked | Wide scenes such as yards and long rooms | Each photo gets half the height; use Square for taller photos |
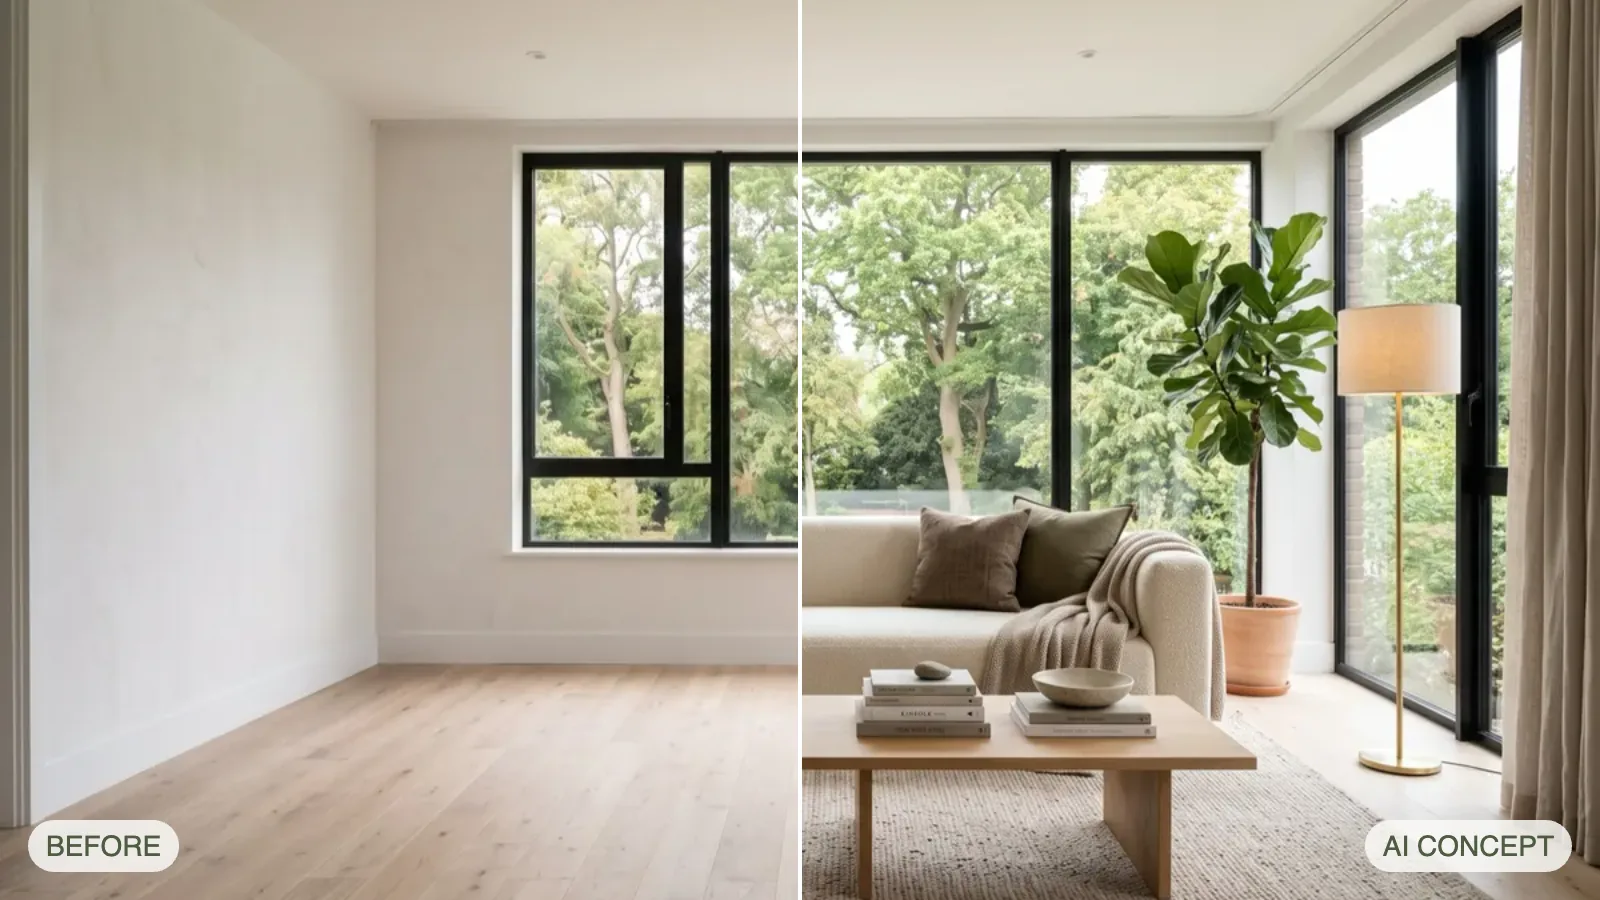
| Split | Photos taken from exactly the same spot | Any shift between the two photos shows at the divider |
The examples in this article were made with the photo maker from AI-generated sample images, so each after panel is labeled "AI concept".
4. Add labels and export
Keep labels short: "Before" and "After" are usually enough. Add a date or a word like "Week 6" if timing matters. In the photo maker you can rename or hide both labels.
The photo maker downloads a PNG at 1600 × 900 (wide) or 1600 × 1600 (square). Use square for a feed post and wide for a website or listing. If the two photos have different proportions, Show entire photo keeps both complete, and Fill and crop fills each panel.
The tool also works in a phone browser. On a narrow screen it opens in the split layout, and you can drag the divider with a finger. It accepts PNG, JPEG and WebP; HEIC files are not supported.
5. Common mistakes
- Different zoom. The after photo looks closer, and the change looks bigger than it is.
- Different light. A sunny after photo next to a dull before photo makes the light the main difference.
- Cropping out the landmark. Without a door or window in both photos, viewers can't tell it is the same space.
- Editing only one photo. Brightening or filtering only the after photo exaggerates the change. Edit both the same way, or neither.
6. Keep the comparison honest
A before and after photo implies that both pictures show a real place at two points in time. If the after image is a design concept rather than finished work, label it as a concept. For property listings, check the disclosure rules that apply to edited or staged photos.
To compare a room photo with an AI design concept, see how to make a before-and-after comparison of AI room designs. To furnish an empty room photo first, use Virtual Staging.
Frequently asked questions
How do I take before and after photos at the same angle?
Mark where you stand and the camera height when you take the before photo, and keep the zoom at 1×. For the after photo, return to that mark and check the framing against a fixed landmark such as a window or door frame.
Should before and after photos be the same size?
It helps. Same orientation and similar proportions make the comparison easier to read. If they differ, the photo maker can show both photos complete or crop each to fill its panel.
Can I make a before and after photo on my phone?
Yes. The photo maker runs in a mobile browser with no app to install. On a narrow screen it opens in the split layout, and you can drag the divider with your finger. Use PNG, JPEG or WebP photos.